Planner is the latest app to join Office plans 365 For the company, As this is a powerful and at the same time simple tool to organize the tasks to be carried out by the members of the groups of your company, as well as being a new part of the Office applications conglomerate 365, is integrated with groups, calendars and even with application connectors such as Dynamics CRM or BitBucket.
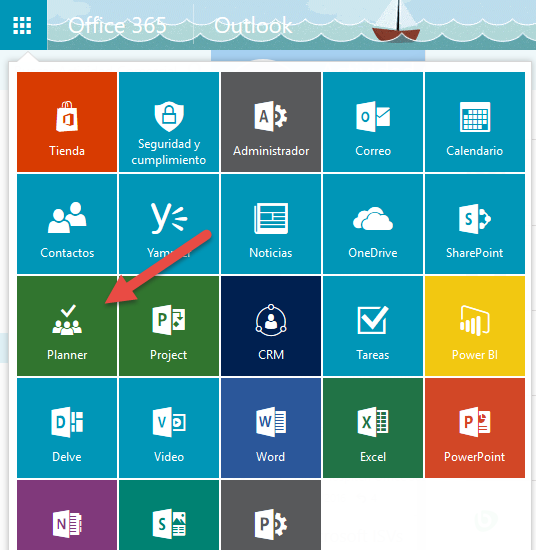
Today we will learn the basic concepts for handling this tool, To do this, the first thing will obviously be to access it from the Office application launcher 365.
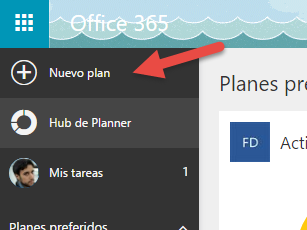
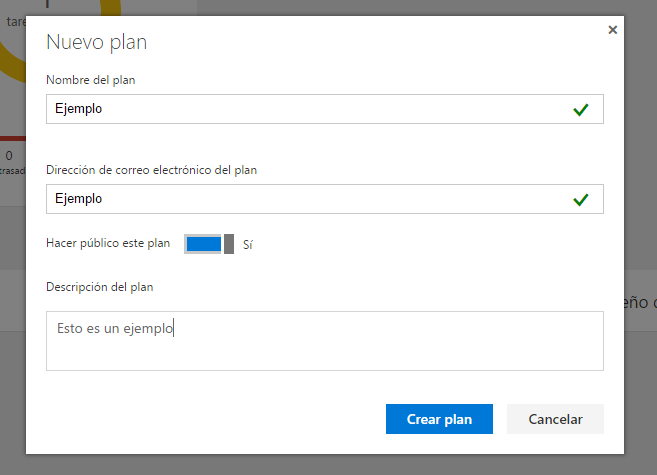
Una vez hecho esto estaremos en la interfaz del Planner, lo primero que haremos en ella es generar un plan para un tipo de actividades a realizar pinchando en la pestaña. Nuevo plan.
Al crear un plan podemos decidir su nombre, si es público y su descripción. Si se crea un plan público, cualquier persona dentro de la organización puede unirse sin invitación, si es privado, solo pueden unirse si han sido invitados.
Cuando se crea un plan al mismo tiempo se genera un grupo y con esto un conversation, a calendar, una cuenta de storage en Sharepoint accesible desde onedrive para empresas y una instancia de Una nota propietario del grupo.
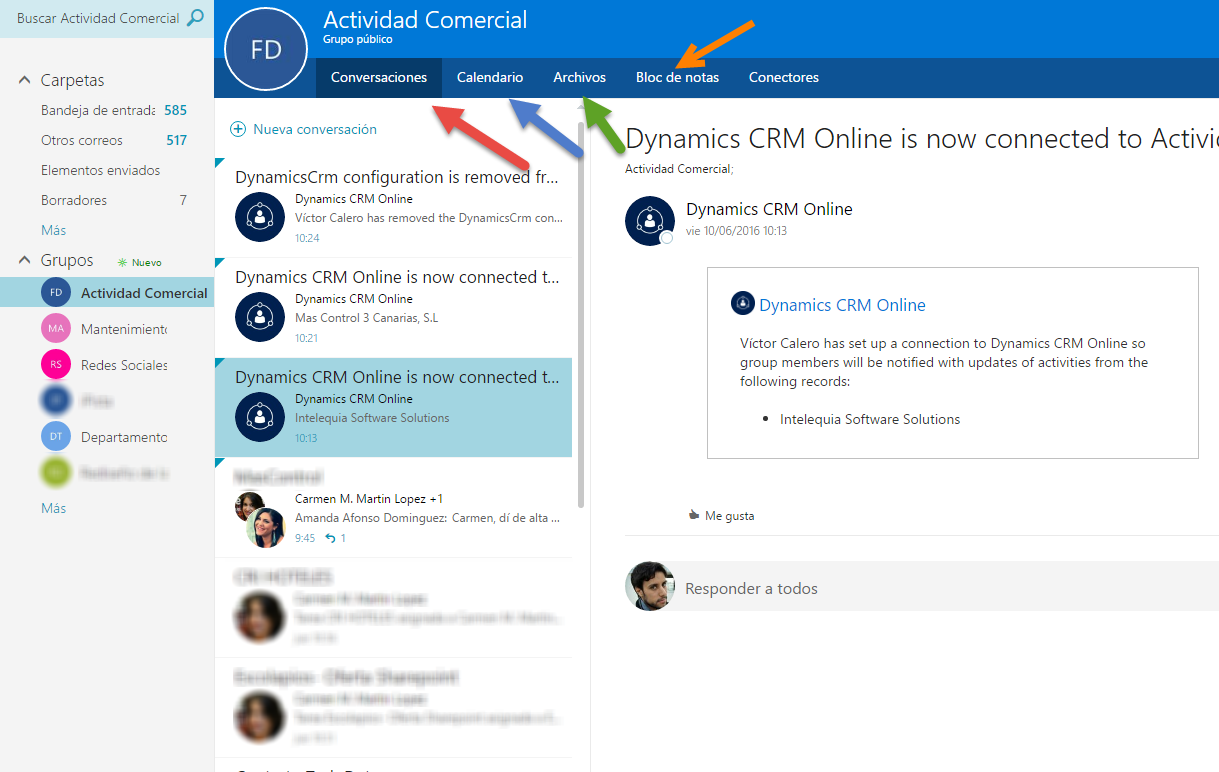
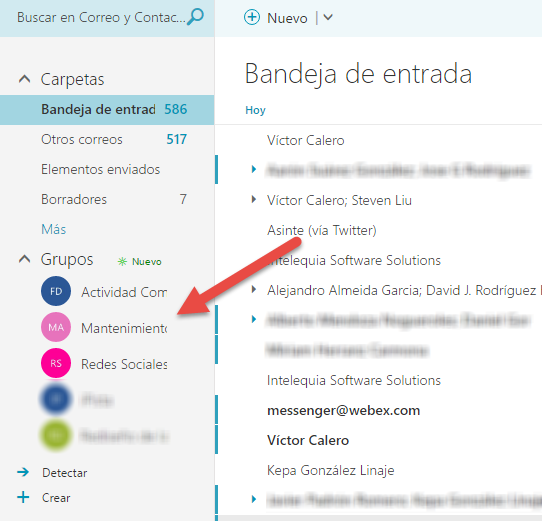
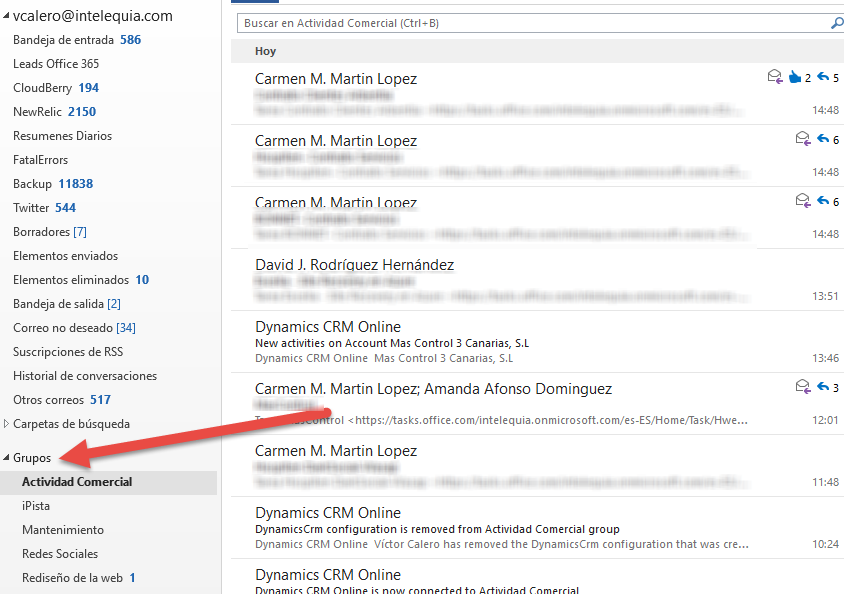
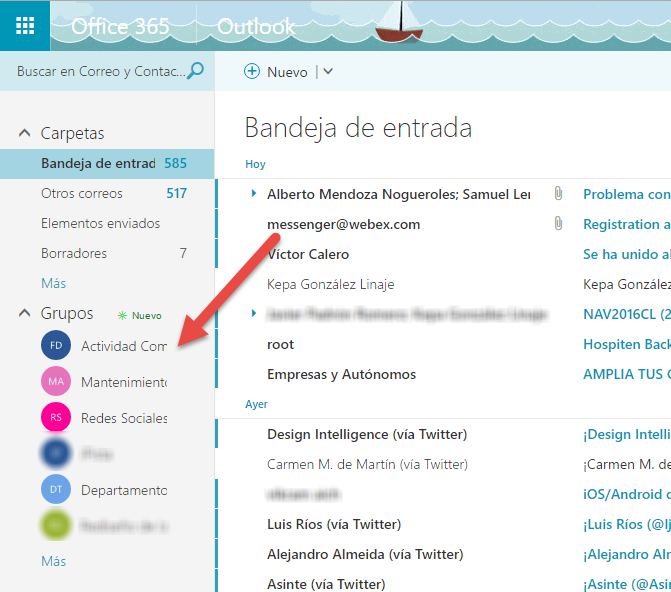
Para acceder a esta área (groups) de Outlook en Office 365, podemos acceder a ella a través de la opción de conversaciones de un plan en Planner o desde el propio Outlook.
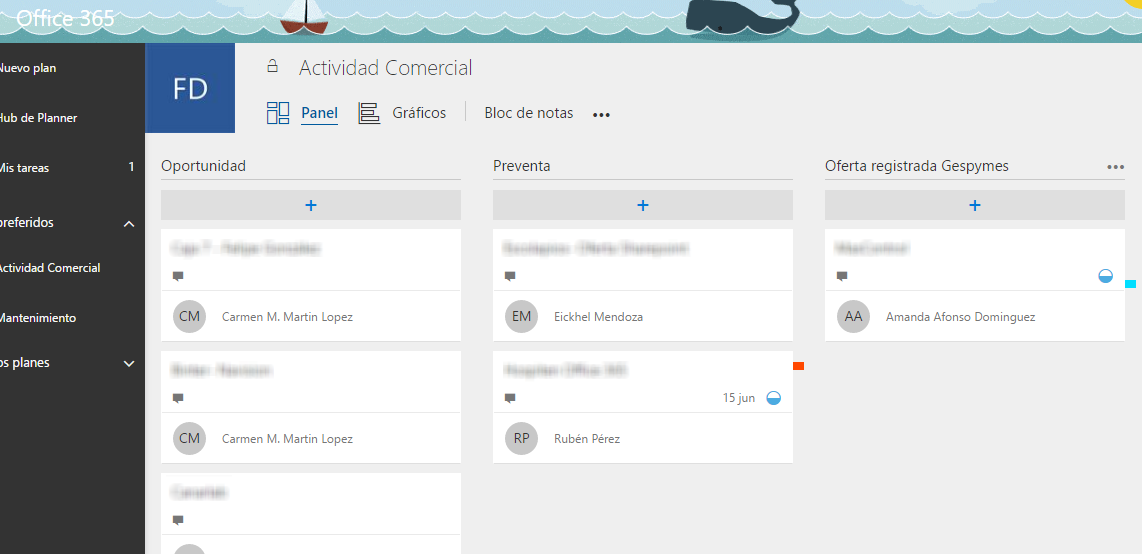
Una vez ingresemos al plan predeterminado tendremos la vista de cubo en la que se nos permitirá personalizar el flujo de trabajo de las tareas para aquellas personalizaciones que vayan más allá del estado de progreso de la tarea.
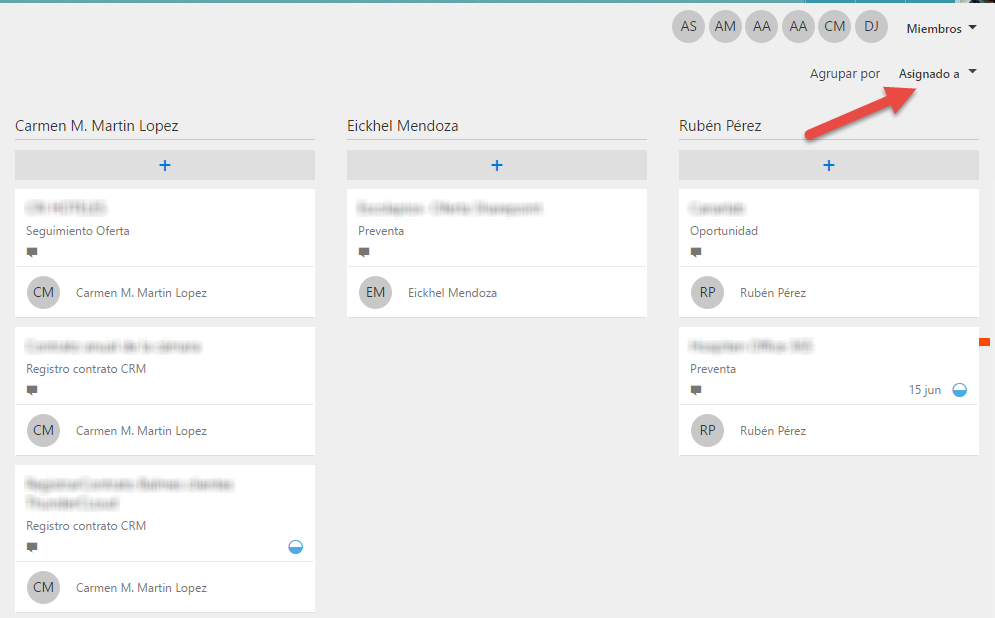
Además de esta visualización, Planner nos ofrece otras dos vistas del plan entre las que podemos alternar. La segunda sería la vista por asignación que mostrará las tareas organizadas por usuario al que han sido asignadas y por el estado de avance de la aplicación.
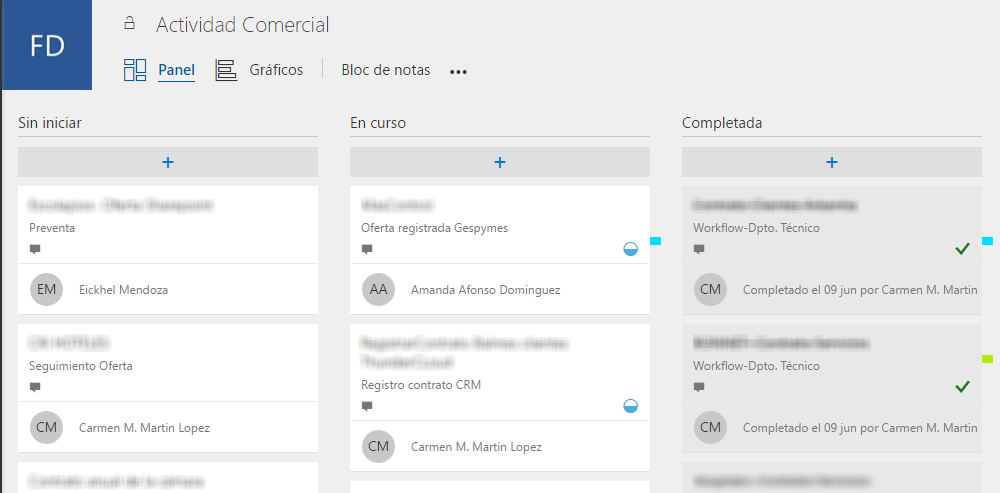
También podemos seleccionar el modo de visualización según el progreso, en el que se mostrarán las tareas ordenadas por su estado, las cuales deben estar definidas dentro de la propia tarea según el progreso de la tarea establecido por la persona asignada.
Ahora veremos cuáles son las opciones que nos presenta la creación de las tareas, empezando por la parte superior:
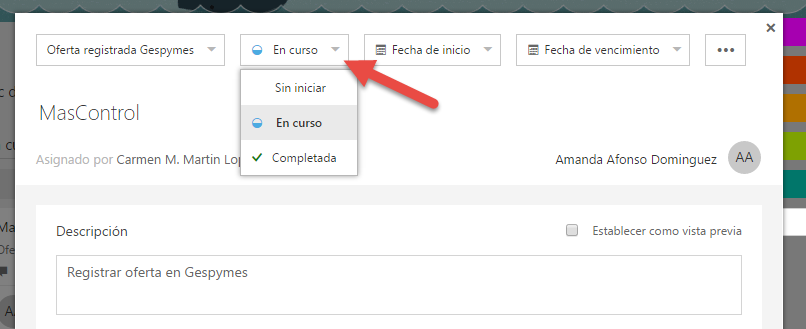
- Zona de flujo: Aquí podemos definir en qué cubo se encuentra la tarea, en qué estado de progreso se encuentra, su fecha de inicio y su fecha de caducidad.
- Área de etiqueta: A la derecha podemos usar pestañas con colores para etiquetar las tareas a su conveniencia.
- Nombre y asignación de la tarea.
- Description: que si marcamos como vista previa se mostrará en el resumen de la tarea en el cubo.
- Datos adjuntos: Aquí podemos adjuntar datos y configurarlos como una vista previa en el cubo si es una imagen.
- Lista de subtareas: Separación por objetivos de la tarea que, al igual que las anteriores, se pueden mostrar en la vista previa para que se marquen como realizadas a partir de esta.
- Área de comentarios: Donde los usuarios pueden hablar sobre la tarea.

A la hora de visualizar gráficamente nuestros planos, tendremos dos opciones:
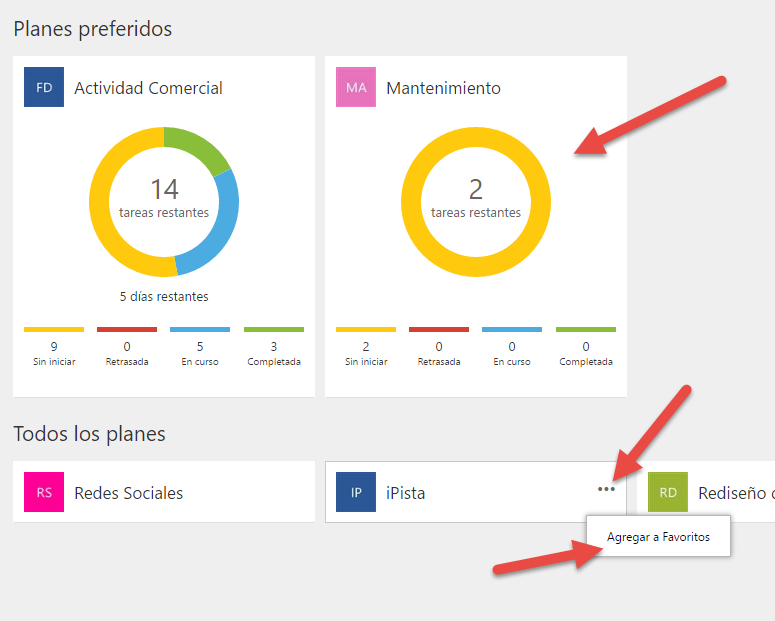
- La primera es agregar nuestro plan a favoritos, que nos mostrará un gráfico de las tareas del plan según su estado de progreso.
-
Una vez que entremos en el plano tendremos una segunda posibilidad de visualización además del panel principal, la vista gráfica en la que no solo podremos ver el gráfico anterior sino también un gráfico de las tareas según su estado y la persona a la que tiene ha sido asignado. What's more, en el área correcta, podemos crear y asignar tareas, lo que nos permite evaluar fácilmente qué trabajadores tienen más carga de trabajo y asignar tareas en consecuencia.

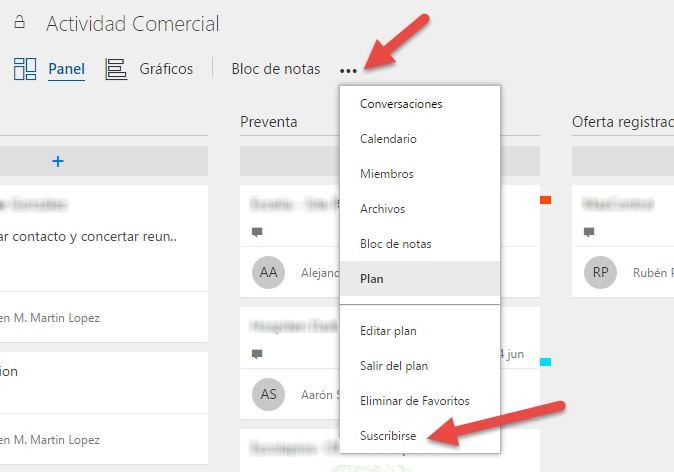
En cuanto a las notificaciones, lLas únicas por defecto que se envían a los usuarios de un plan Planner se realizan una vez que el usuario se agrega a dicho plan y cada vez que se le asigna una tarea siempre que no sea él quien la agregó. Besides that, tendremos un botón de suscripción que le permitirá ser notificado por correo electrónico cada vez que:
- Se agrega una nueva tarea al plan.
- Se asigna (o reasigna) una tarea a cualquier miembro del plan.
- Las fechas, el progreso, el depósito u otros detalles de una tarea han cambiado.
- Cualquier miembro del plan agrega un comentario sobre cualquier tarea.
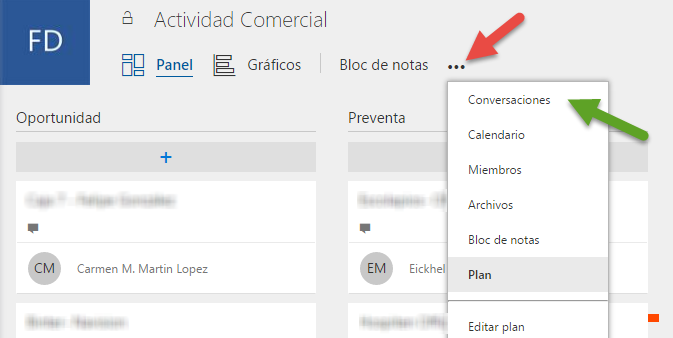
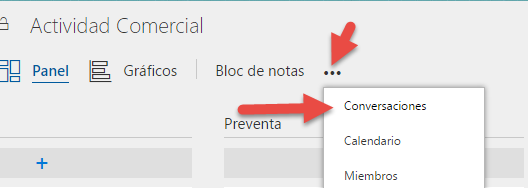
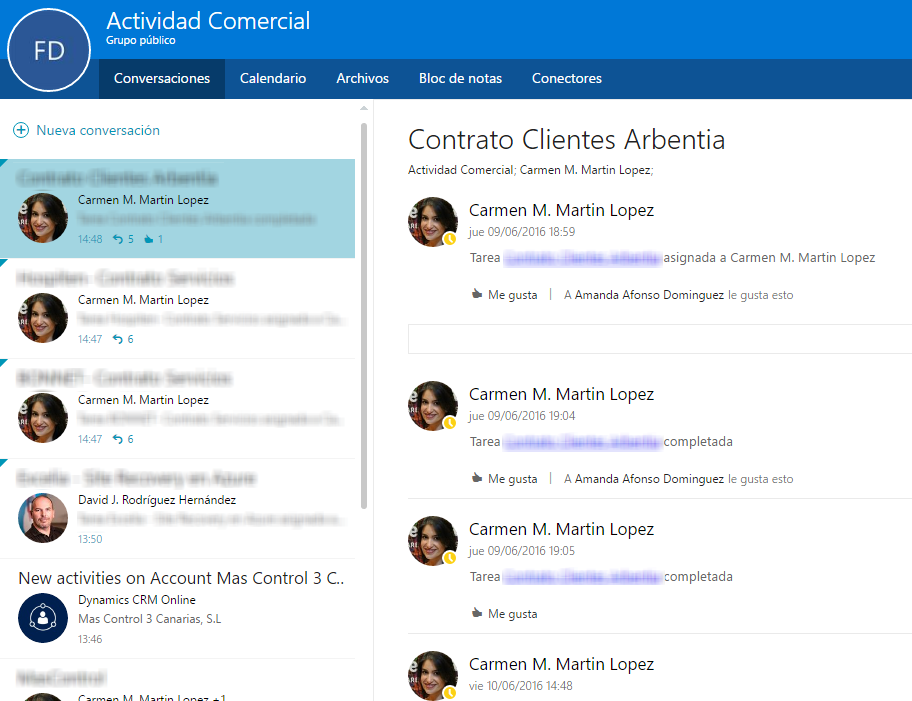
Otra forma de estar al tanto de todo lo que sucedió en un plan es recurrir a las conversaciones grupales donde se mostrarán todos los comentarios y cambios realizados en las tareas del plan, accedemos a través del botón de conversaciones:
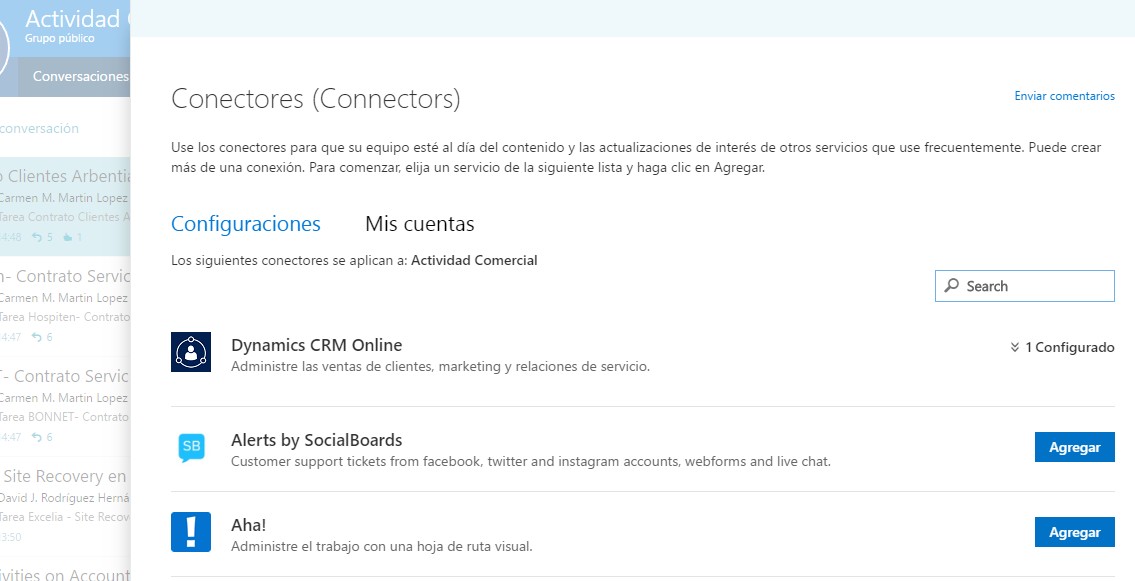
En esta pantalla también podemos acceder a la opción de Conectores para combinar notificaciones de otras aplicaciones que sean relevantes para el trabajo realizado por el grupo asociado al plan, como Git, CRM, JIRA, MailChimp, etc.
Finalmente tenemos que tener en cuenta que estos mensajes de notificación grupal se pueden visualizar desde Outlook en Office 365 así como desde la aplicación de escritorio siempre que tengamos Office 2016 instalado y actualizado a su última versión.